How To Make Any Printer Wireless

One of the biggest hassles of owning a printer, especially if you own more than one, is that all of them need to be connected to your computer by means of a USB cord to print anything. If you are used to connecting a xerox printer to your computer then it’s fine. However, you can’t always go through the hassle all the time.
And you’re struggling with how to make any printer wireless!
This can be particularly annoying when it comes to laptops because most printers are very large and bulky.
It’s even more frustrating when you want to print something on a printer that’s located in another room.
Luckily, there is a way around this problem and you can make any printer wireless easily.
Here are some methods from which you can easily make your printer wireless.
- Have Wireless Adapter For Your Specific Model
- Connect Your Printer To Router Via USB
- Connect Your Printer To Router Via Ethernet
- Use Ethernet To WIFI Adapter
Now let’s dig into it and discuss each method in detail.
1. Have Wireless Adapter For Your Specific Model

This is the easiest method of all of the above methods.
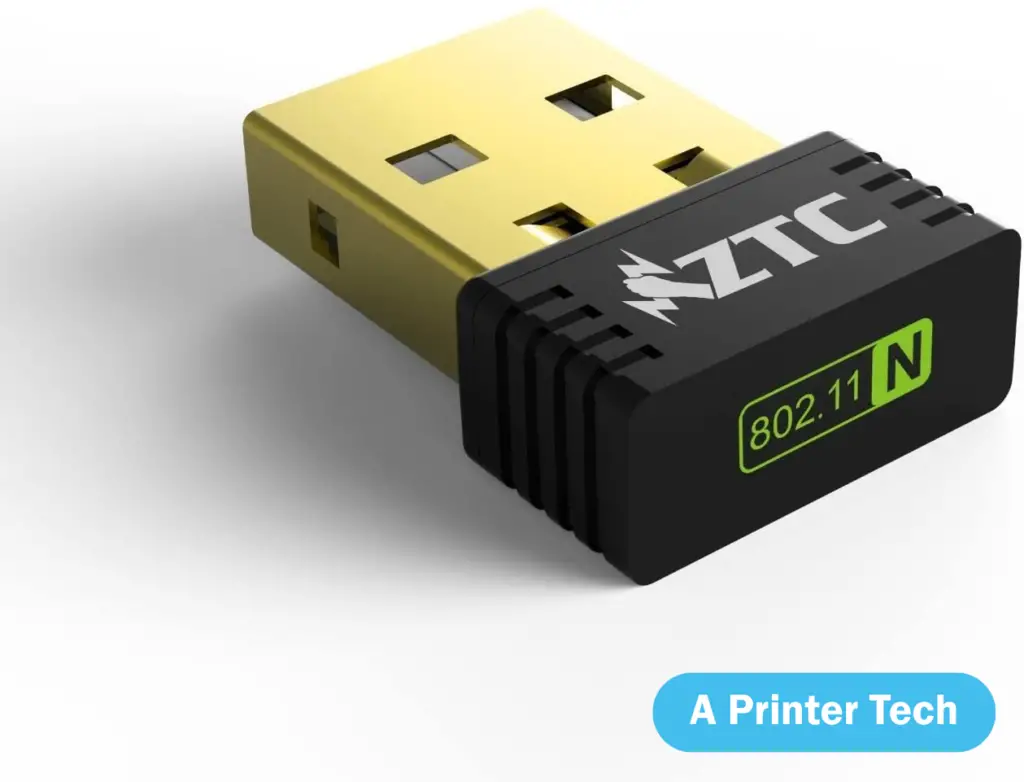
All you have to do is purchase a wireless adapter for your printer.
This adapter plugs into the back of your printer and it will connect wirelessly to your computer or laptop so that you can print from anywhere in the house or office, even if you’re on the other floor!
Many companies make these adapters, but generally the most popular are Belkin and Linksys.
Linksys manufactures adapters that allow multiple printers to be connected to it at once so you don’t have to purchase another one for each device.
There are also third-party manufacturers that make wireless adapters like TP-Link and Zyxel.
So if you don’t own a wireless printer, this might be your best option to make your printer wireless.
2. Connect Your Printer To Router Via USB

If you have a wireless router in your home, then you can connect your printer to it via USB.
This allows you to print from the computer that’s connected wirelessly to the router just as if your printer was wired directly into it.
In order to do this, here are some simple steps:
Locate an empty USB port on your wireless router.
Plug the USB cable into an open port on your printer and router.
Your printer will be listed as a shared device on your computer screen and you can print from it just as if you are connected to the same network.
Make sure that you set your wireless router to share the printer, otherwise, this won’t work.
This is a very popular method among many people because it’s a simple and direct connection between the computer and printer.
3. Connect Your Printer To Router Via Ethernet

If you want to connect your printer directly to your router, then you’ll need an ethernet cable.
This allows you to connect both devices at once and print wirelessly from any computer in the office or home even if it’s located on another floor!
The steps to do this are simple:
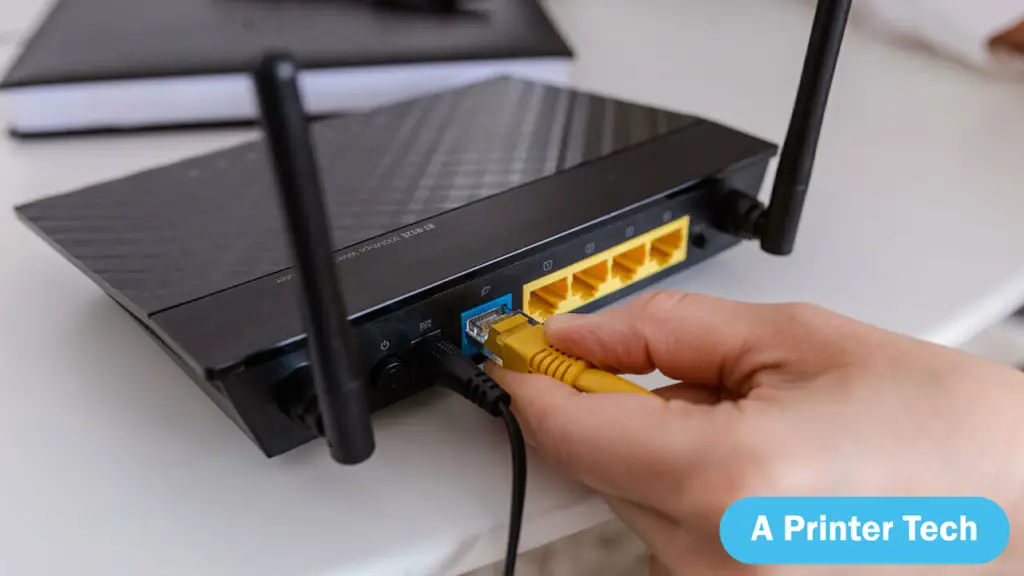
- Plug one end of the ethernet cable into your printer and the other end into an available port on your router.
Make sure that you use a spare ethernet port and not a USB port for this connection, otherwise, it won’t work.
- You should see your printer listed in the available devices list on your computer.
From there, you can print directly to it like if it was physically connected.
This is also a very easy method to make any printer wireless and works well for most homes or offices.
4. Use Ethernet to WIFI Adapter
In order to make any printer wireless using this method, you’ll need two things:
- An Ethernet cable
- A WIFI Router that’s capable of sharing a connection
The good news is that many routers have the ability to do this, so it shouldn’t be too difficult for you to find one or purchase another one if your current one doesn’t allow this feature.
After you have these two things, follow these steps:
- Plug the cable into an available port on your current router and plug the other end into your printer.
- Next, visit the control panel of your WIFI Router and locate a section that says “sharing” or “ad hoc network” and you should see a list of all the connected devices.
In this section, select your printer from the list and click the “share” button.
- Now, go to your computer or laptop and connect wirelessly to the new ad hoc wireless network that your router created for your printer.
Go to Control Panel and then Network and Internet. From there, click on the network that you just connected to.
- You should see your printer as a shared device now. Just select it from the list and you can print directly to it without any wires!
This method allows you to make any wireless printer work with WIFI router because you are using an Ethernet cable to connect both devices.
Many people struggle with making their printer wireless because they don’t know where to start or what steps to take.
Luckily, there are several ways that you can make any printer wireless and it won’t cost you much money or take too long to do.