Everyone at least once faces the issue that their printer started printing blank pages all of a sudden. So, what should we do if we face the blank pages issue?
Let’s discuss 6 common ways to answer the question “Why is my Canon printer printing blank pages”.
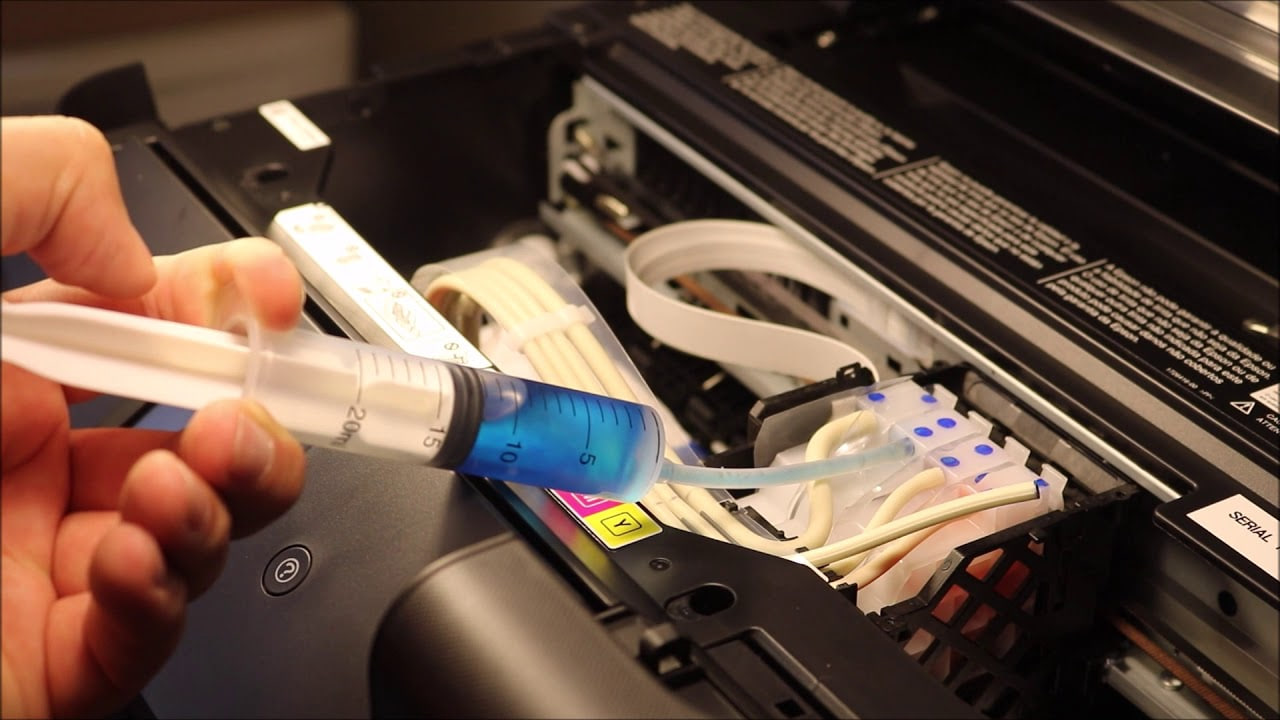
Clogging
This is very common if you rarely use your Canon printer, and the old dry ink can just build up in between the cycles.
But even if you use the Canon printer frequently, this is still a possibility (especially with high-end or laser printers).
If you look closely, on print heads you can find lots of microscopic holes where the droplets of the ink are emitted. Over time, the ink cartridges may dry up and clog the print head with ink residue. Sometimes, little air bubbles can get trapped in the print head thus resulting in the vacuum clogging.
To sort out any of the print head issues, the best way is to resort to the automatic cleaning method.
To start the automatic cleaning method:
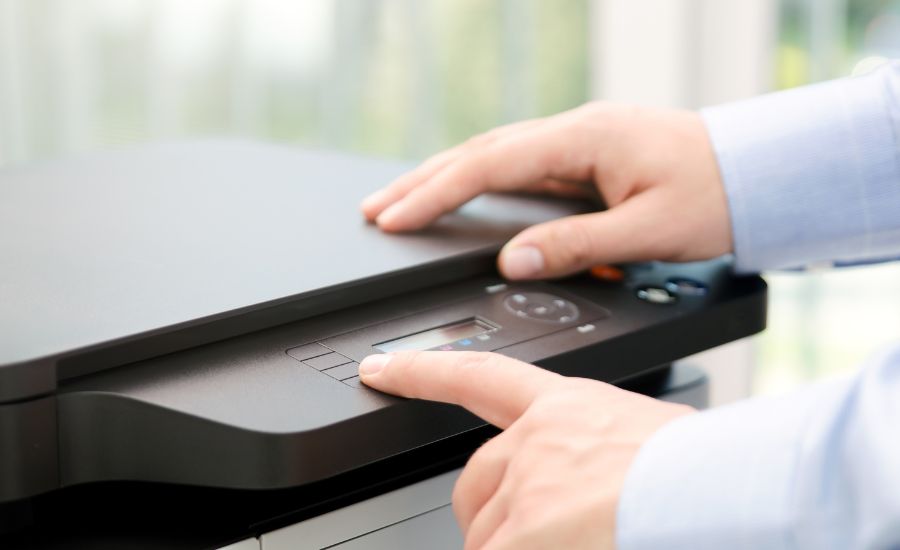
- On the Canon printer’s control panel, find the gear icon.
- You will see the tools icon amongst the options. Click on it.
- Choose “Cleaning” from the newly opened menu and confirm your choice.
The print head cleaning process will start automatically. Wait for 2-3 minutes until the process finishes and wait until your Canon printer prints a test page.
Advice: Once finished, check the test page contains no missing lines. If you find something is missing, perform the nozzle check and run the cleaning program cycle again.
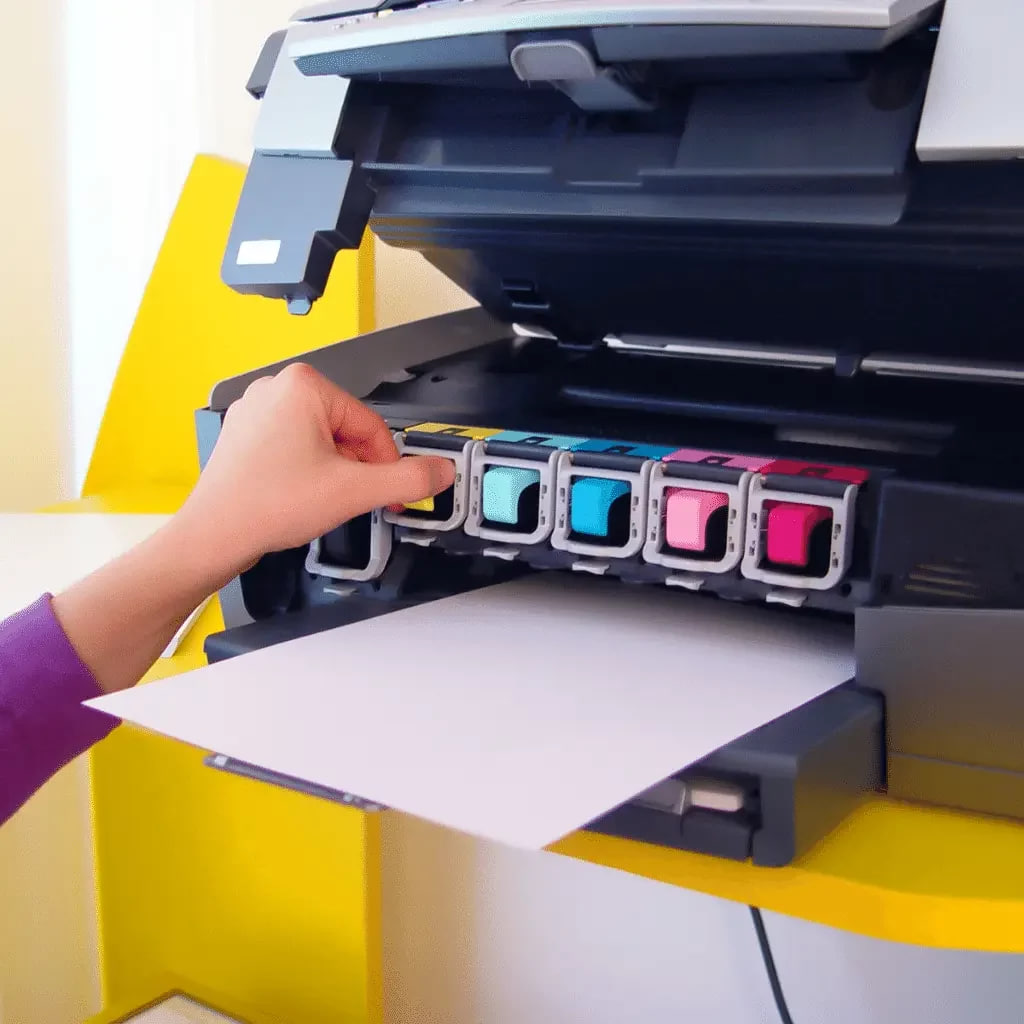
Check your ink cartridges
Ink cartridges are one of the main reasons that cause printing blank pages in the Canon printers.
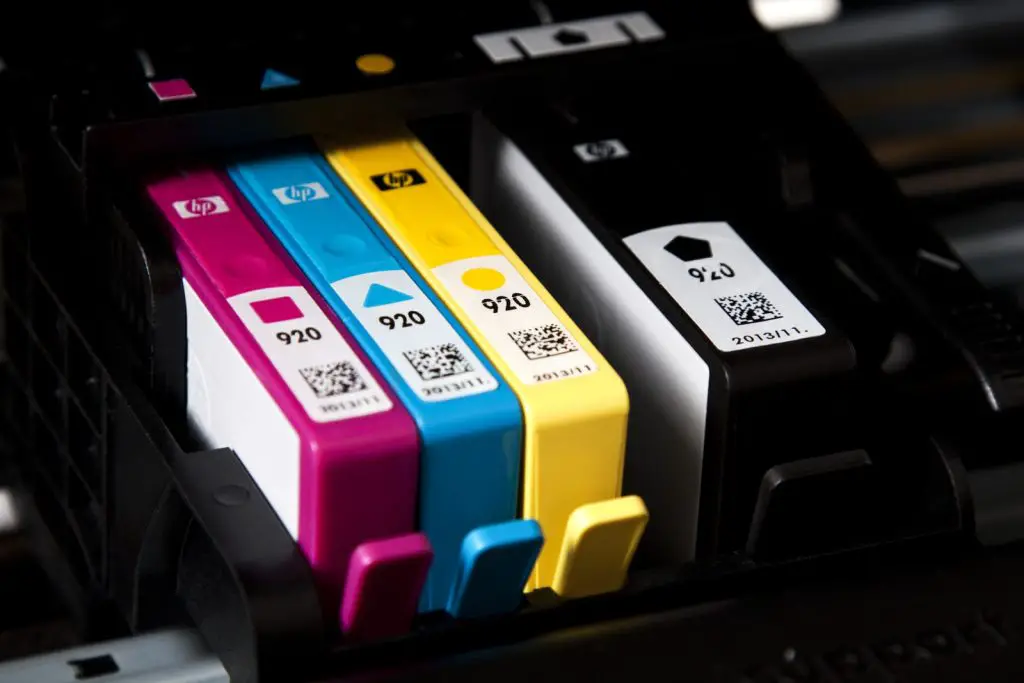
So, if you are screaming “Why is my Canon printer printing blank pages” – make sure your ink cartridges are in working order and that Canon printer printing blank pages is not linked with any of the ink problems discussed.
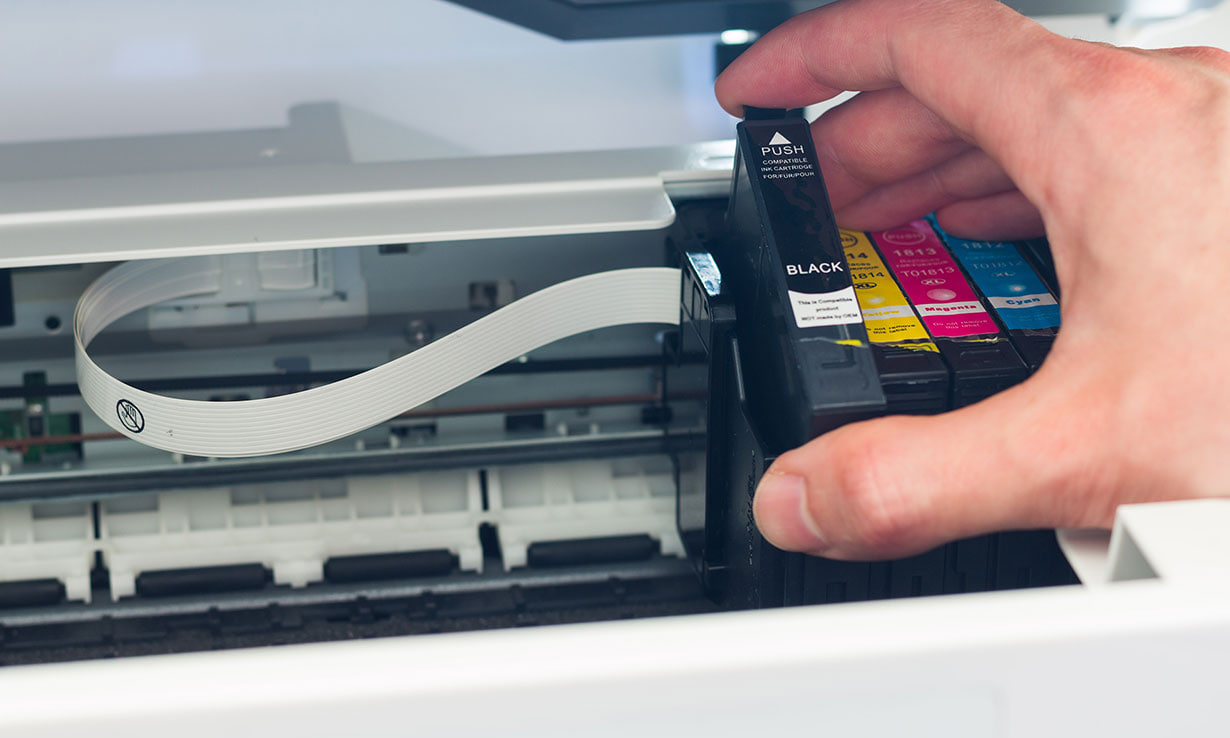
Are the ink cartridges correctly installed?
Ink cartridges especially when not installed correctly, can cause the machine to print blank pages. Did you hear a click if you recently changed a cartridge? If the answer is yes- well done, it is locked in place as supposed to be.
But if your answer is “No” or “I can’t remember”, and now the Canon printer prints blank pages – my advice is to take a cartridge out, double-check it against all of the other cartridge points on this list, and then re-insert it back until you hear a click.
A click here indicates that the cartridge has been put in place successfully.
Low ink
It is a popular misconception that you only need to substitute a cartridge when it runs out completely. No, have an eye on the ink all the time, and when they are close to 25% – get the new ink cartridge ready!
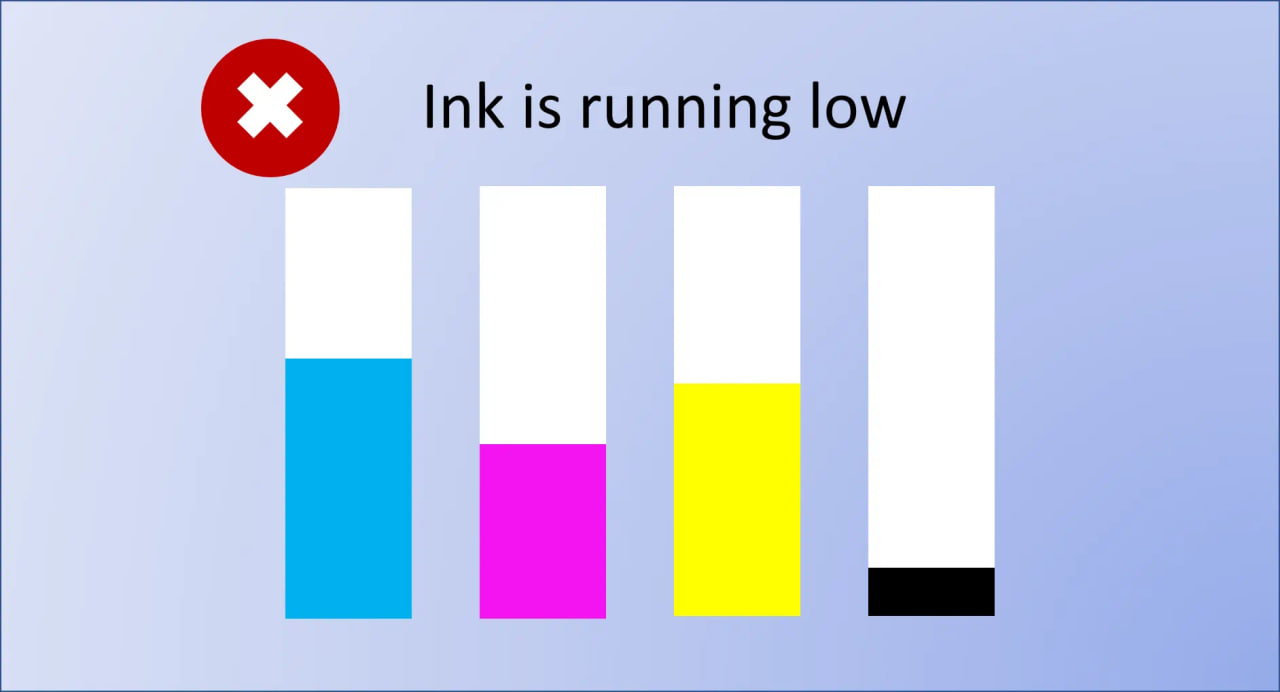
Your device prints blank pages when the ink level is 20% or lower to prevent the color loss of the document. You may have noticed if the cartridge is about to run out that it is not all equally dull – for example, red elements may look faded, but blue or yellow ones are fine.
Canon printer printing blank pages is a way to avoid this loss of color in the document, and a signal for you to substitute the ink cartridge in the printer.
Advice: Before printing any print job, make sure you have enough ink for the full job completion – otherwise the Canon printer might print blank pages.
Third-party ink cartridges
Low-quality or incompatible ink cartridges can cause a massive issue for the Canon printer – and not only in terms of printing blank pages. So cheaper toner cartridges here are not always better!
Whilst providing strong economic benefits at first glance, the amount of hassle and issues you can face even from high-quality generic cartridges are just not worth it.
Reading chip
First of all, third-party ink cartridges don’t contain a special reading chip that allows the Canon printer to display information on the ink levels and can cause it to print blank pages.
If the blank page printing happens because of low ink, you will not be aware of it until you try a new cartridge instead.
Color matching
As well, third-party cartridges do mimic the colors of the original manufacturer cartridges – but do not match it fully. Thus, your red document may end up being a different shade of orange!
Ink clogging the print head
The print blank pages issue can also be linked to the poor cartridges installed.
According to statistics, third-party ink is more likely to be involved in some sort of ink-clogging problem than the manufacturer’s original cartridges.
Nobody exactly knows why the print head becomes clogged whilst using those, but maybe it has something to do with the method used to refill the ink tanks or the ink composition itself.
Is the cartridge damaged?
Did you check the cartridge as soon as it arrived at your doorstep?

When you order a brand-new cartridge, look at it carefully:
- It shouldn’t have any dents on the sides.
- The protection stripe needs to be fully attached.
- Golden pins on the print heads are not bent.
- Once installed, the ink level displayed is on a maximum for each color.
Turn it off and on properly
Sounds simple, as many can find a power button. But remember – after the power button is pressed, you also need to turn the Canon printer off the mains for more than 10 seconds before turning it back on!
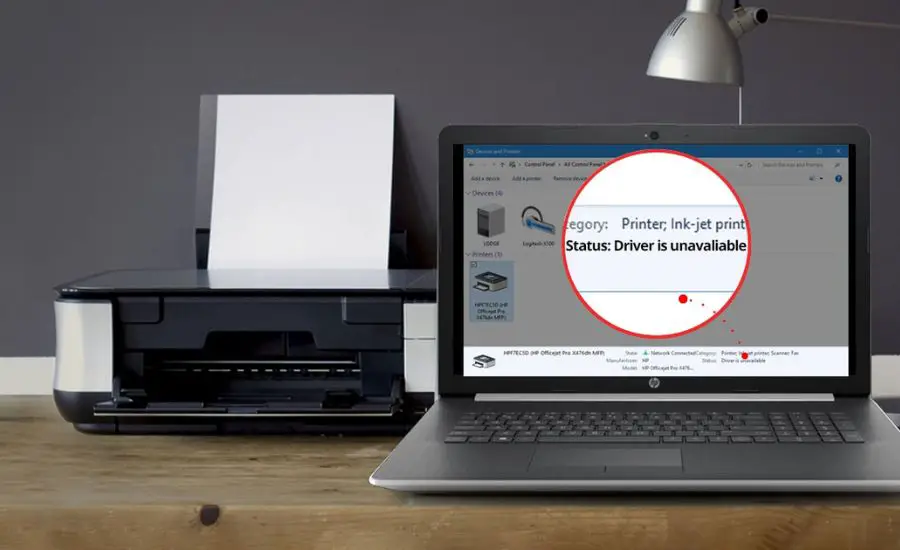
Look at the Canon printer driver installed
The cause of the problem can be an outdated printer driver that is no longer supported.
Updating printer drivers
If you want to use Windows functionality to update Canon printer drivers, type and search for the “Device Manager” in a Windows search box. There you will see everything about the device settings you need to know. Click on it.
On the control panel that opened, you will see some tabs.
The ones that you are interested in are “Imaging devices” and “Printers“. Depending on your Canon printer model, it will be in one of those tabs.
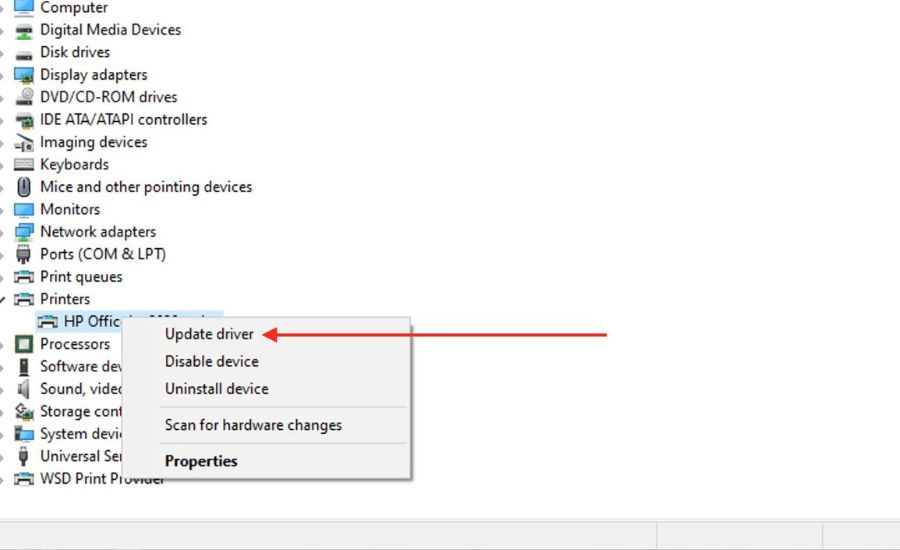
Right-click on the device name once you locate the Canon printer in any of the tabs above.
There, you would see options in the control panel menu such as:
- Update driver
- Disable device
- Uninstall device
- Scan for hardware changes
- Properties
You will need an Update Driver option to resolve the Canon printer printing blank pages issue. There you would be offered a choice – to update an outdated printer driver automatically or manually.
I always suggest updating automatically unless you know which version of the Canon printer driver you need to install.
However, if you would prefer to be in full control of the process, choose the manual option:
- Go to the official Canon website where all Canon printer drivers are and find the new driver for your printer model before the choosing manual option.
- Once downloaded, when prompted, point from the update driver window to the installer downloaded.
- Run the installer and follow the on-screen instructions to finish the printer driver update.
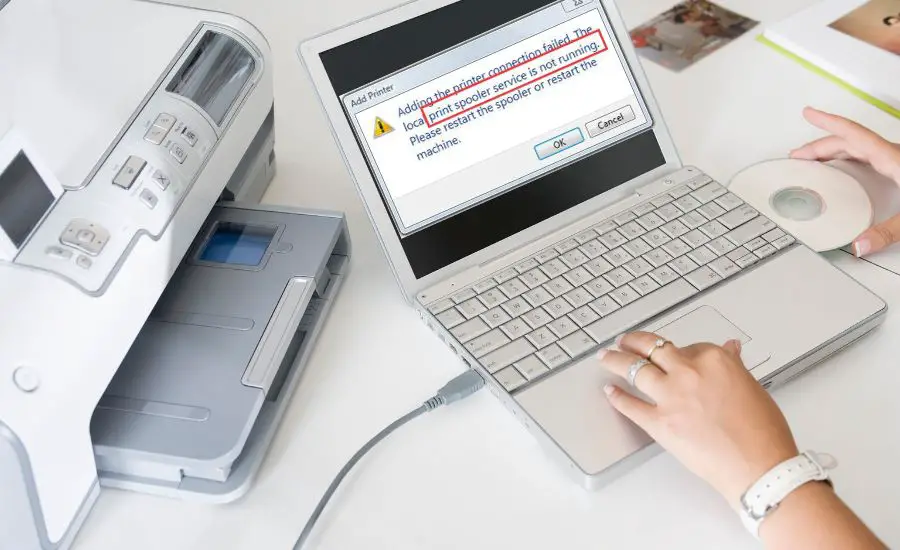
Clean a printing queue
Another issue for printing blank pages may be that there is a dormant document in the queue, preventing your Canon printer from completing any print job successfully – and causing it to print blank pages instead.
- In the Windows settings menu, go to “Bluetooth & Devices” -> “Printers and Scanners“.
- Either right-click or click on the Canon printer name to find the “Open Queue” button.
- In the queue, just cancel all the documents – and print fresh.
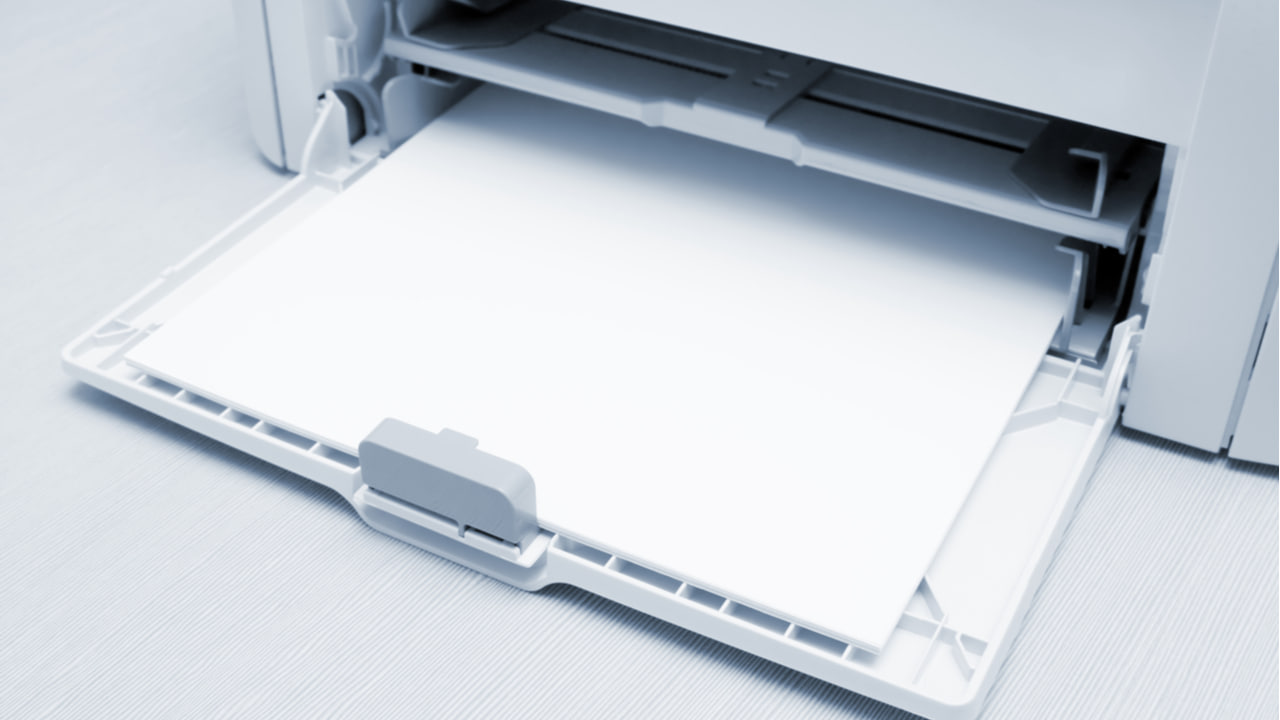
The default settings
Sometimes it is not your Canon printer printing blank pages. But maybe it is you who put a symbol in the very top left corner on a paper format that’s different from the initial picture’s dimensions (e.g. A5 vs. A3).
So how to avoid it?
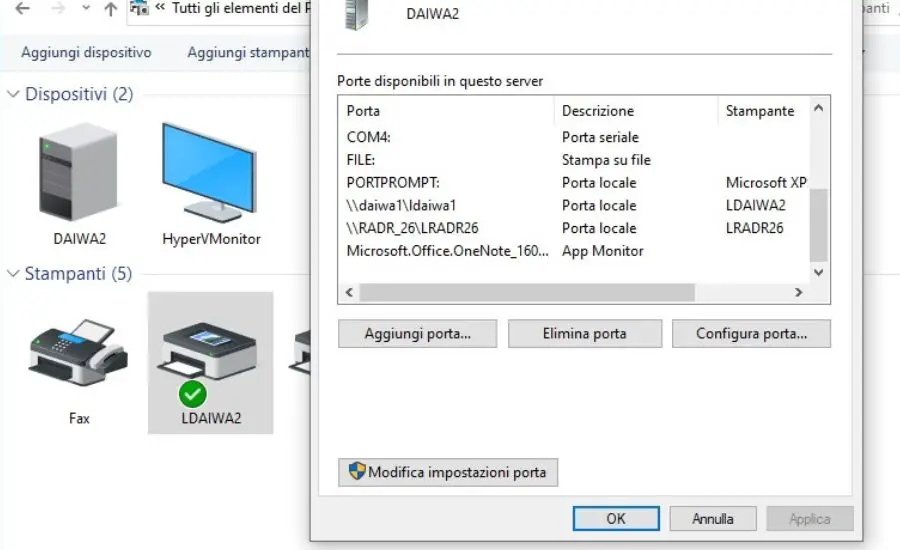
Search for “Printers and Scanners” on your PC. Once there, you will see the list of all the devices that the machine knows and that you have printed on.
Choose the Canon printer you are interested in from the list and find the “Printing preferences” tab. Here you can find all the information about the default paper size and type your Canon printer uses.
FAQ
Why is my Canon printer printing but no ink on page?
Printing blank pages can happen for several reasons:
- Check the ink cartridge levels.
- Old ink – make sure you have substituted your cartridges within the last year.
- Print head clogging – perform maintenance cleaning regularly to make sure this is not happening.
Why is my printer printing blank pages when it has ink?
The sufficient ink level is a key – if a cartridge is less than 20% full, this can prompt a device to print blank pages.
What to do if your Canon printer is printing blank pages?
If your Canon printer prints blank pages all of a sudden, have a look at the steps above (including the update of the outdated printer driver) first, and if none helps, try to factory reset the printer.
Why is my Canon printer not printing anything on the paper?
If a printer prints blank pages, it can be something to do with empty cartridges in the device.
Still, having blank page issues?
You have done everything advised – but the Canon printer prints blank pages still!
In such a case, it is time to call the manufacturer’s customer support. Always worth remembering – every printer model is different from one another, and what can sort one issue cannot sort the other. Thus, the best way is to seek help from a qualified technician.