What Is Screen Printing
A screen printer is a machine that transfers ink from the printing screens, through the mesh of the screens, to any object.
Once this process is done, you will have an imprinted image on your product. If you are new at designing or hand-making products for sale, starting with screen printers can be incredibly helpful.
This article will ensure you know how to use the screen printing and that you get the most out of your machine.
List of Supplies and Tools Needed For The Screen Printing Process
- Design (in .jpg, .PSD, or .eps file format)
- Print transparency sheet (a sheet with no ink)
- Screen printing kit
- T-shirt
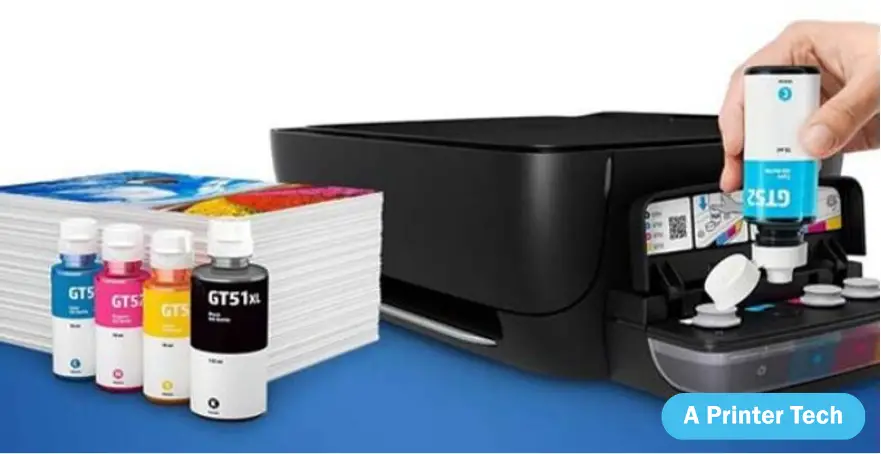
- Screen printing ink in colour (s) of your choice
Some Basic Steps You Should Know before get Started
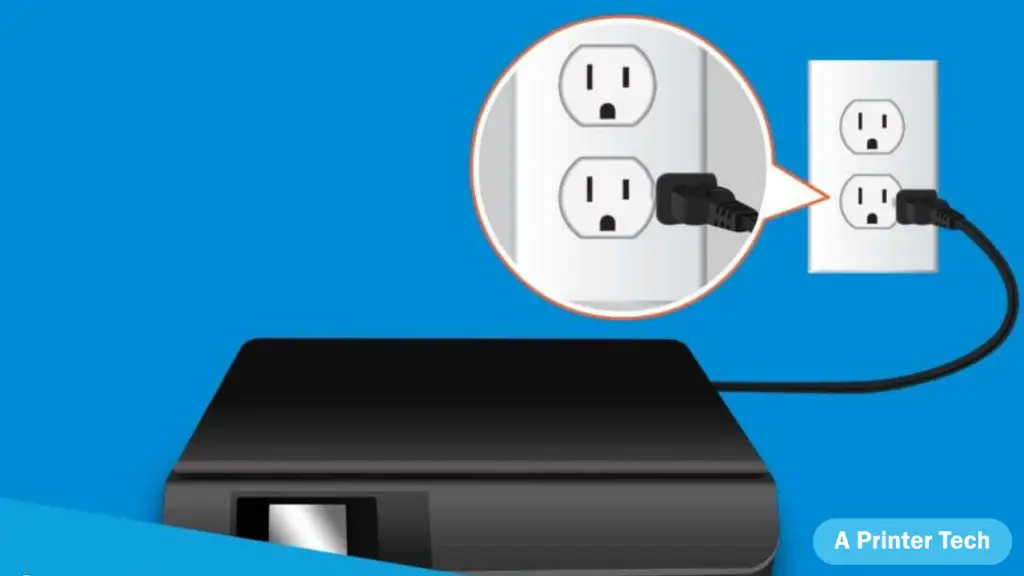
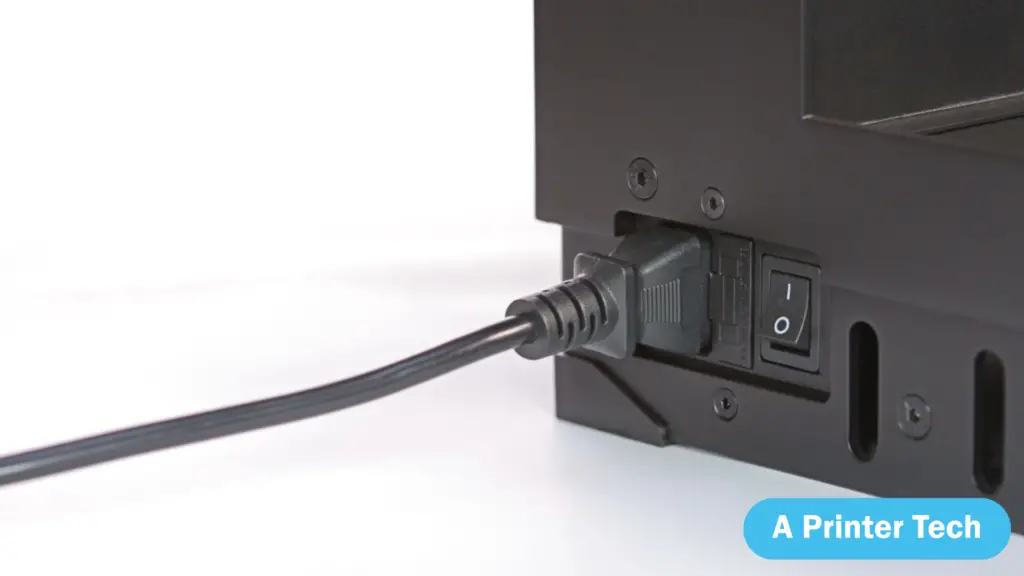
- Setting up the printer
- Washing and prepping your T-shirt
- Positioning your design on the screen for printing
- Applying the print to your shirt, ready for the next step
- Stenciling your design on the T-shirt
- The image is transferred below onto the shirt
- Using a squeegee to press ink into the fabric of the T-shirt
- Letting it dry for 20 min or more
- Checking your work, adding finishing touches
- Washing and drying your shirt
- Pressing your T-shirt
How To Use Screen Printer - Step By Step guide
Let’s discuss how to use a screen-printer.
The first step you must go through when using the printer is setting it up. You get a complete kit, which includes four screens (they can be cleaned and used over again), mesh, squeegee, ink wells, and print heads.
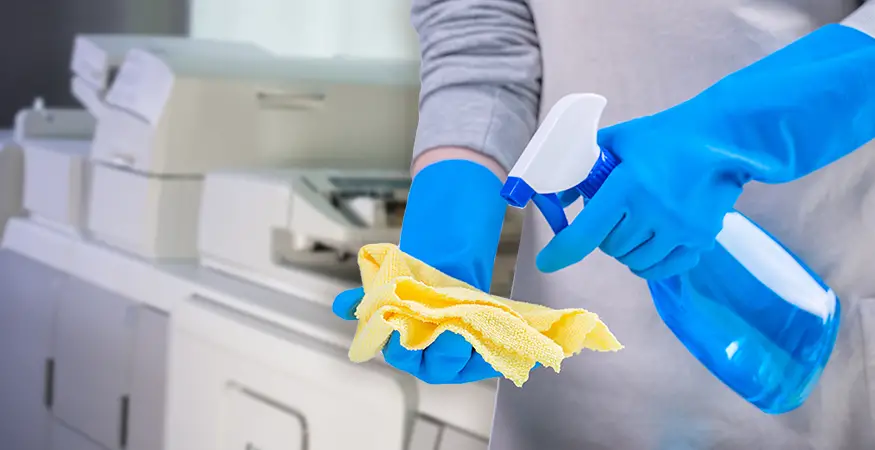
Once you have the supplies, you will need to clean each screen thoroughly. To do this, immerse them in water and use your hands to rub away any build-up of emulsion.
Take the screens out of the water and place them over a wastebasket or tub so that all excess water can drip off.
The next step is to prepare the mesh. The mesh must be stretched over each frame of the printer, with small metal clips to hold it in place.
To stretch the mesh, use a squeegee to push the screen against the inside border of the frame until it pops firmly into place.
Now, you are ready for your first print job!
Design your Printing
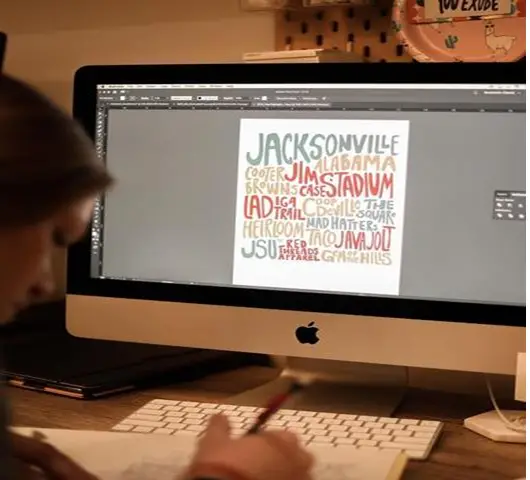
You can create designs easily with something like Adobe Photoshop. There are even websites where you can upload your images and they’ll show you how the product would look printed (ex: www.spreadshirt.com)
If you don’t have a design for your product, or if you just want to test the printer, you can print transparency. Transparency is simply an image with no ink, which allows you to see how it will look when the ink gets printed on top of it.
You can make one by printing an image onto a piece of paper and then placing a standard transparency sheet over it.
Print your Printwork
There are many ways to print your printwork. You can use any local print shop to do this or can have any compatible printer for this purpose if you want to do this at home
Positioning The Printing
The next step would be to position your design onto the screen for printing. It’s best if you use a computer for this, as you can see the exact results of what the image will look like when printed out.
When positioning your image on the screen, make sure you are printing at 100%. Any scaling you do will result in a lower quality image.
You can either print directly onto the screen or print it on a piece of paper and then tape it to the screen. Either way, you should have something that looks similar to this:
Once your design is ready, find the placement of the ink wells for printing.
The best approach is to place them so that all the colours are arranged in a way where there are no unnecessary overlaps between any of them.
Positioning your ink wells correctly can be tricky, but it’s important if you want your final product to look professional.
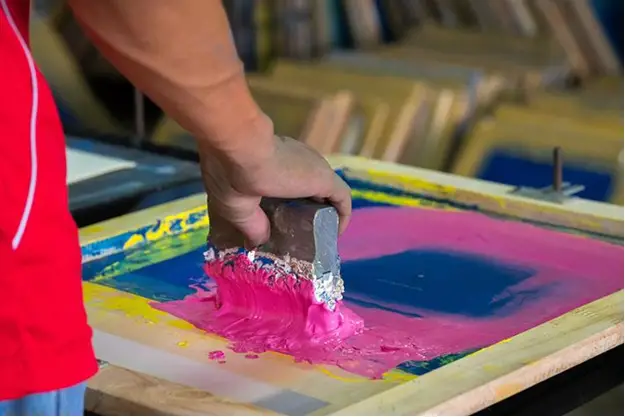
Applying Screen Onto The T-shirt
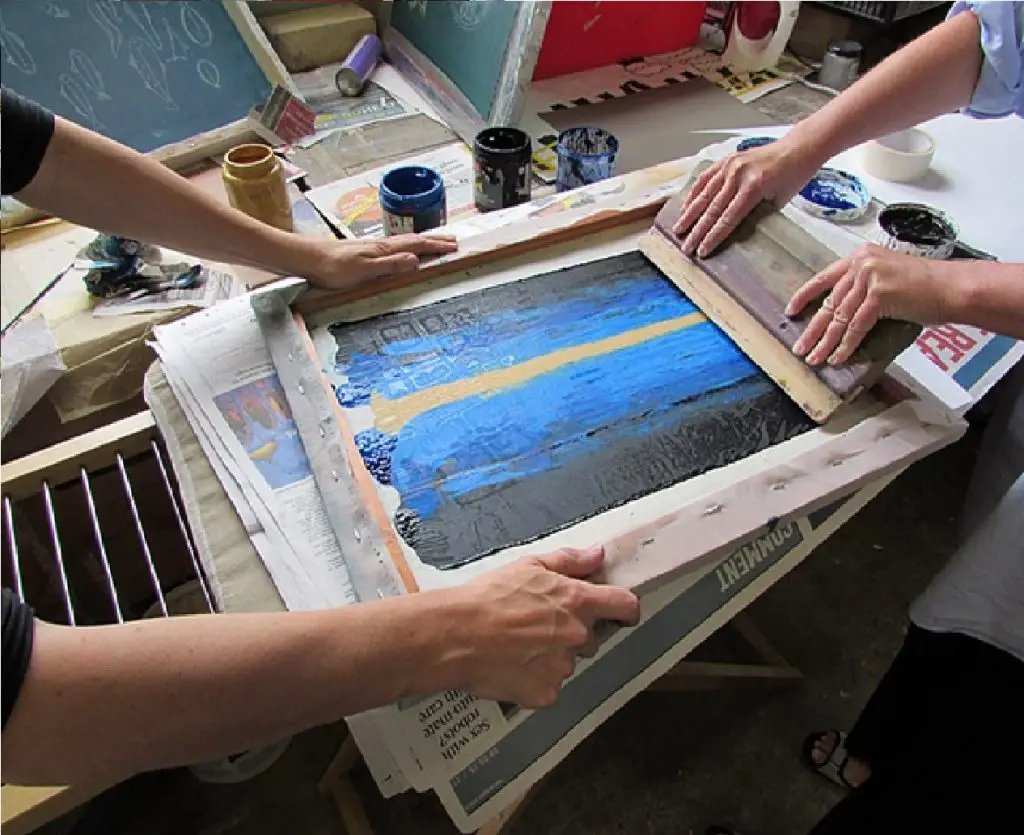
Put ink on your squeegee and make sure that it is evenly distributed. Take the squeegee and place it at the top of your screen, then slide it straight down onto the t-shirt to apply the design.
You should be able to see where you’re applying ink immediately after you start printing.
The time it takes to apply your designs will depend on the complexity of your print and the speed of your squeegee.
Maybe, there are some parts where ink was applied more thickly than others – this is because you stopped applying pressure too early.
It’s important to keep the squeegee in motion until you’ve finished printing. If you press too hard when applying your design, it can make for a thick and uneven print.
Now, let the shirt dry for about an hour before moving on to the next step.
Once all of your shirts have been printed, remove the screens from the printer.
To do this, you’ll have to remove all of the screens from the frame and clean the ink off them with water.
Rinse off your screen until all of the leftover ink is wiped away. Then let it dry overnight so that it’s ready for use tomorrow!
There you have it – a walkthrough on how to use a screen printer!
If you’re interested in doing more with the screens after using them, you can always save them to use again in the future.
Just keep in mind that they only have so many prints before the design becomes too faint to see properly.